


Quick Pitch Infographic
The Quick Pitch Infographic is a low complexity, standard experience that focuses on sales enablement. This interactive template is perfect for pitching ideas to your stakeholders. With a Next button at the end of each section, the viewers will be guided through the experience in a downward motion. To the right of the experience, a box will move along when scrolling up or down to match your scroller. With animations and different interactive elements, your viewers will stay engaged with the content. At the end of the experience, viewers can schedule a meeting with your company.
COMPLEXITY

Low
TYPE

Infographic
USE CASE

Sales Enablement
Features available
Here are the major features, abilities, and interactive elements used in this template.
Animation
Anchor
Reveals
Lightbox
Form
How-to use


Content structure
Best practices
- Tagging
- Conversion
- GoLive
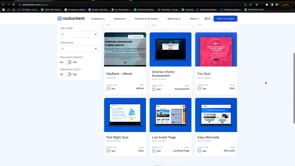
Related templates
If you like this template, you might want to check out these other similar models.
Easy Infographic
Type
Infographic

Fintech Landing Page
Type
Landing Page
Storyscape
Type
Infographic
Branded Infographic
Type
Infographic